Discord
Integrate your LinkAI Agent with Discord to enable AI-powered conversations with friends and community members in your server.
Step 1: Create Discord Application
- Log in to the Discord Developer Portal
- Click New Application in the top-right corner
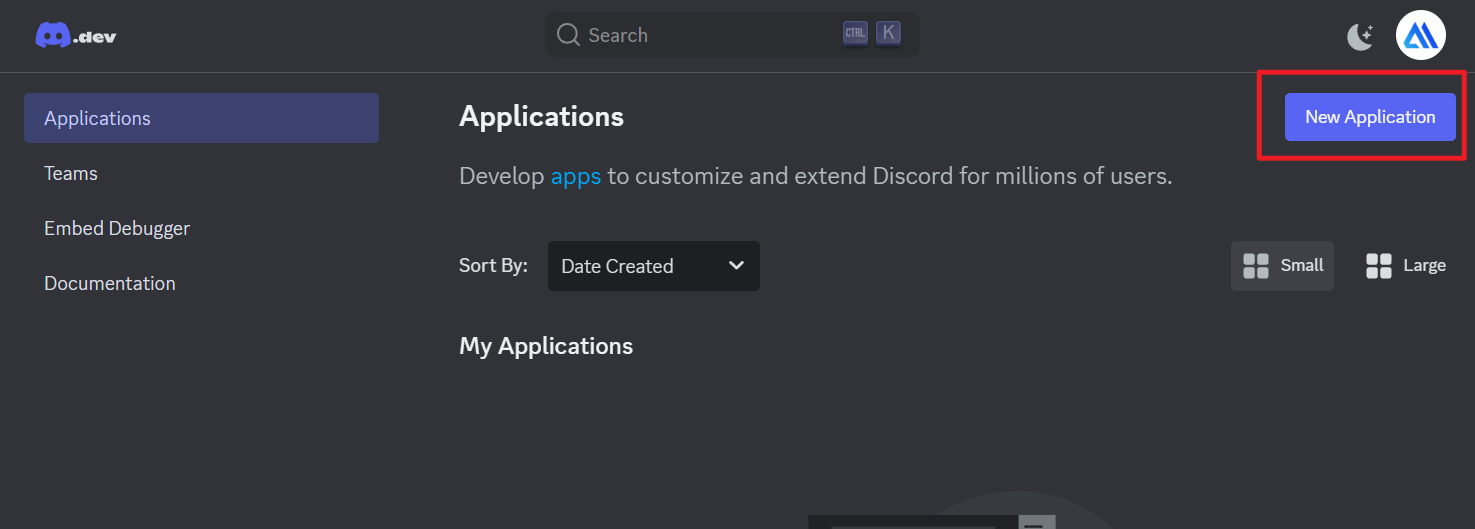
- Enter your application name, accept the Terms of Service and Privacy Policy, then click Create
Step 2: Configure Bot Permissions
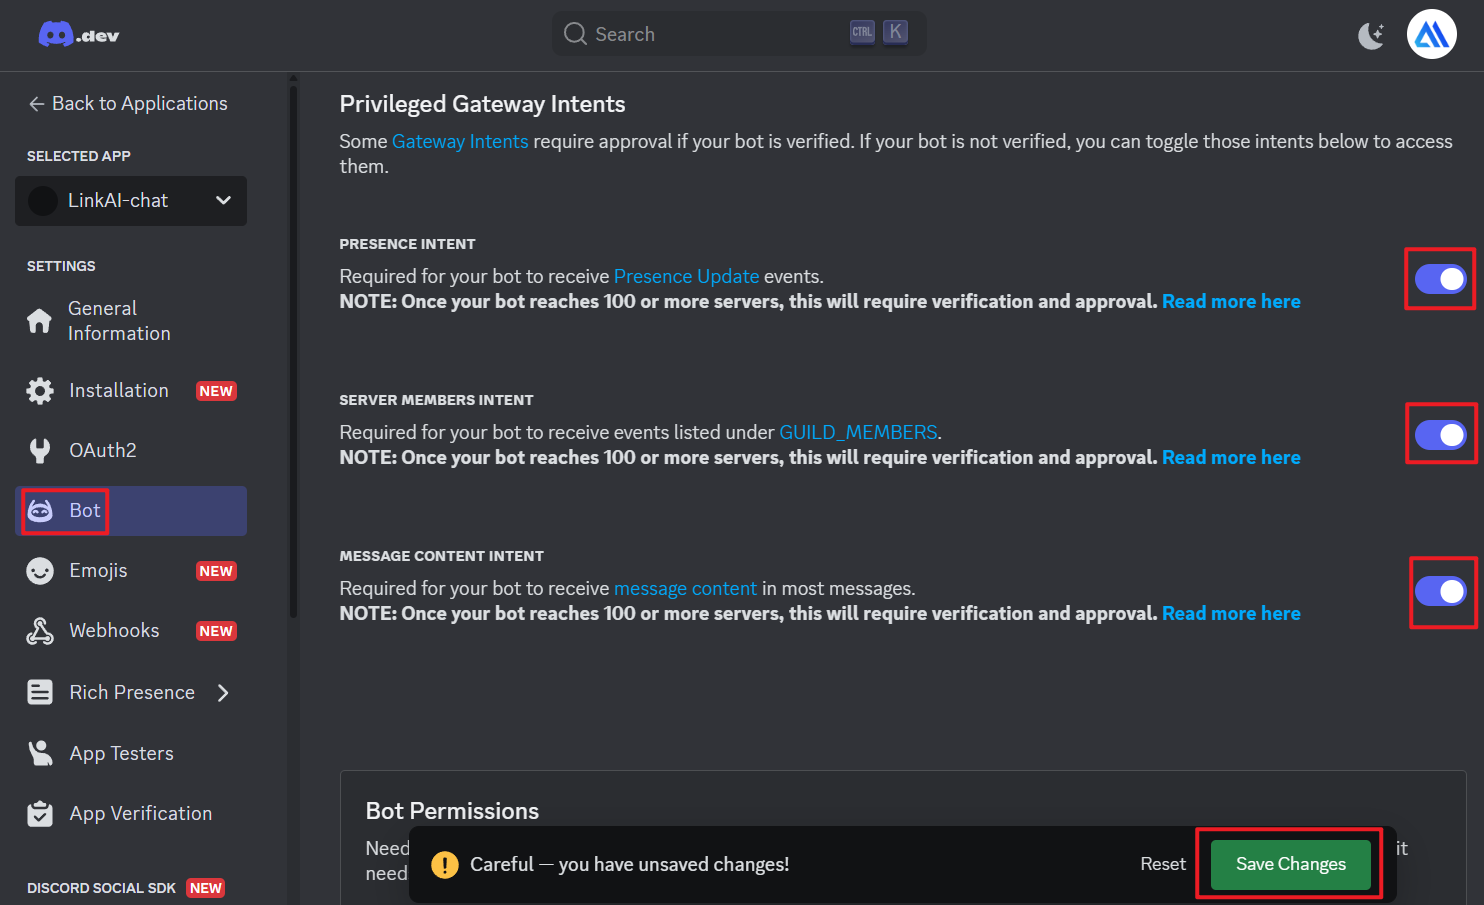
- Navigate to Bot in the left sidebar
- Enable the following intents:
- Presence Intent
- Server Members Intent
- MESSAGE CONTENT INTENT
- Click Save Changes
Step 3: Generate Bot Token
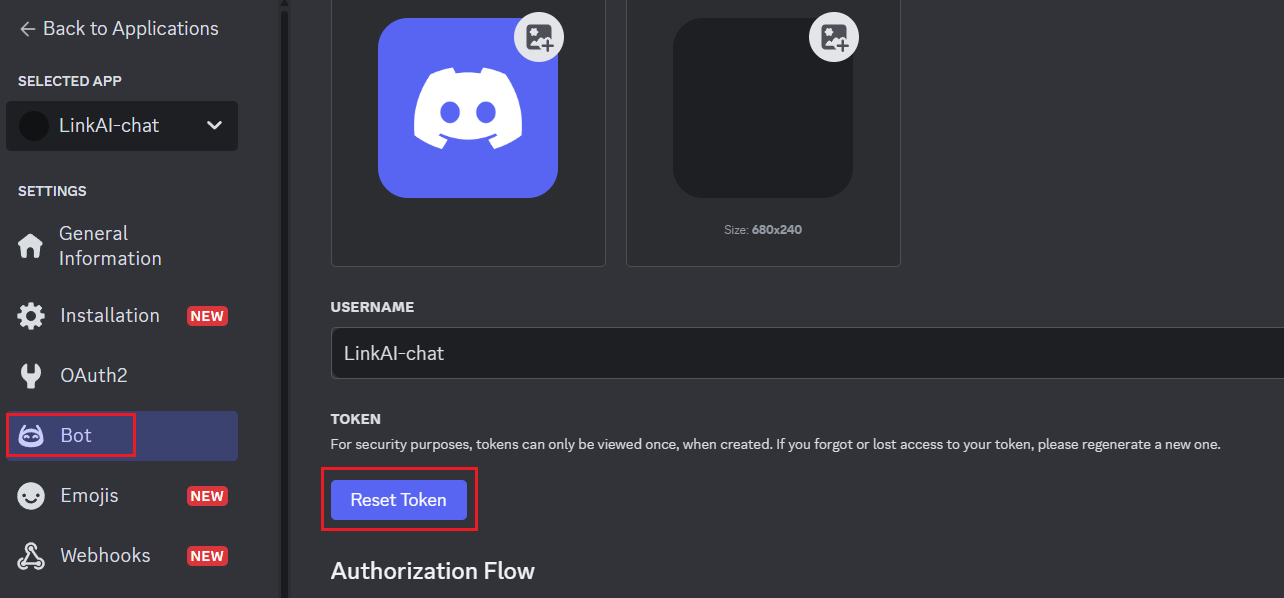
- Click Reset Token at the top of the page
- Enter your password and confirm
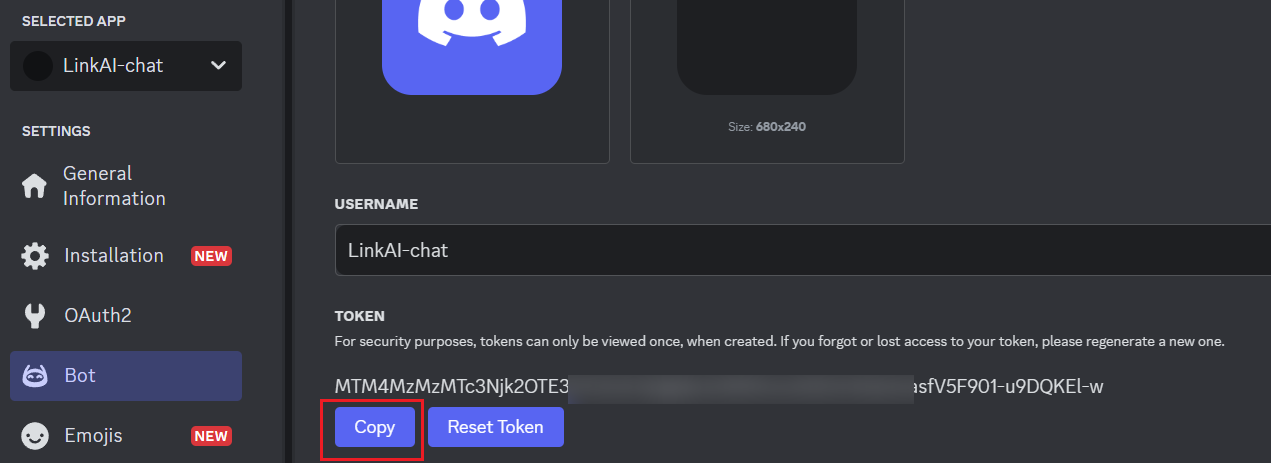
- Click Copy to copy your bot token (keep this secure!)
Step 4: Set Up LinkAI Integration
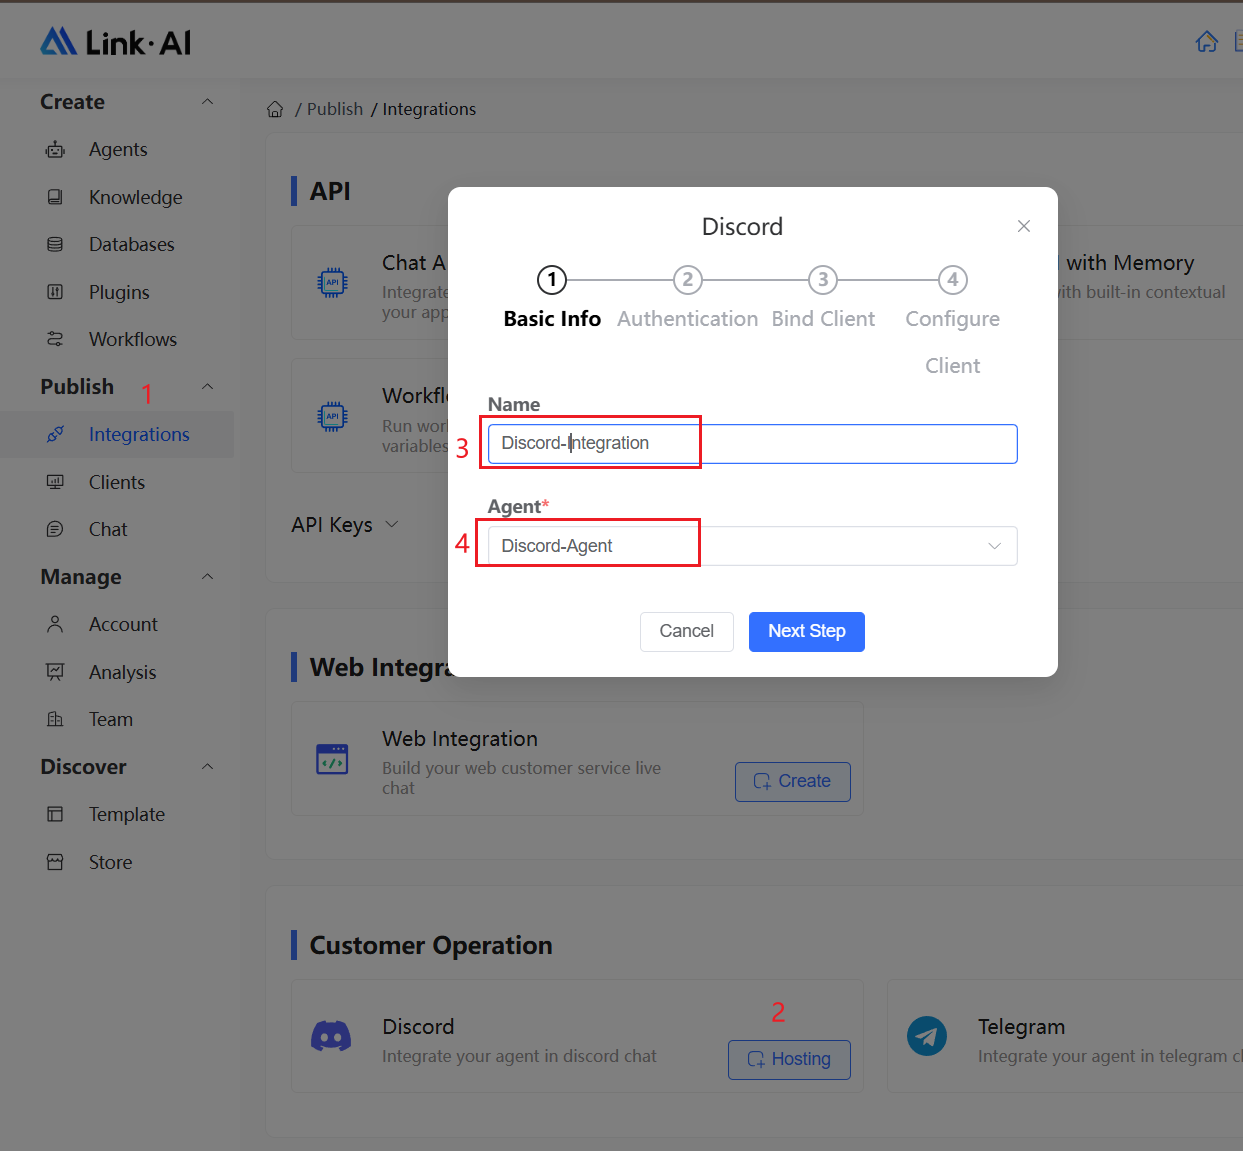
- Go to LinkAI Integrations
- Find the Discord integration and click Hosting to create a client
- Enter a custom client name and select your created Agent
- Need help creating an Agent? Check our Quick Start Guide
- Click Next Step
- Paste the bot token from Step 3 and click Next Step
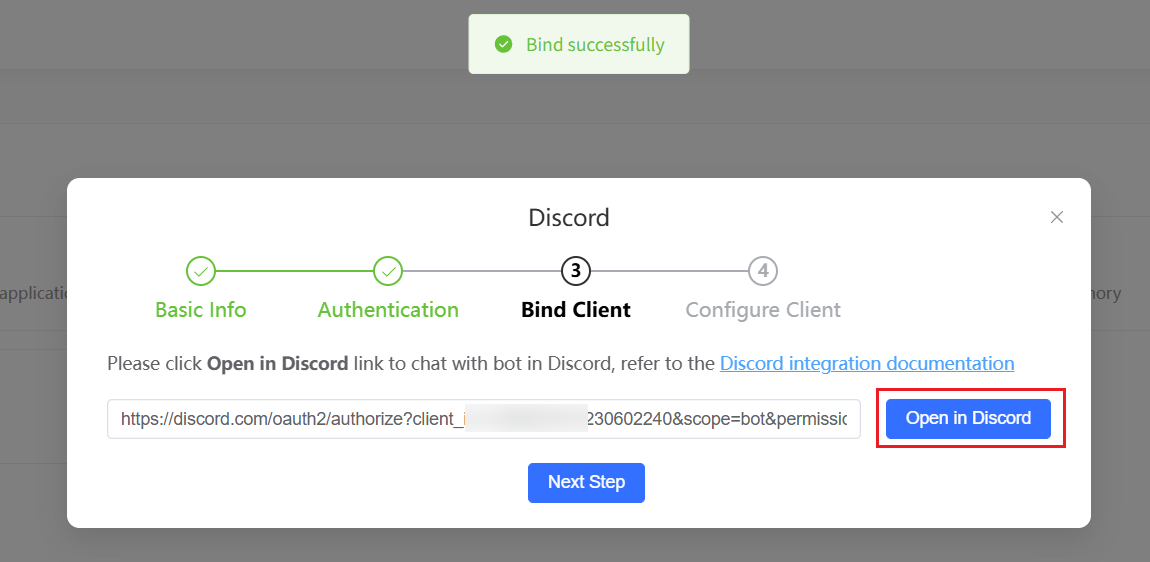
- Click Open in Discord to automatically redirect to the bot invitation page
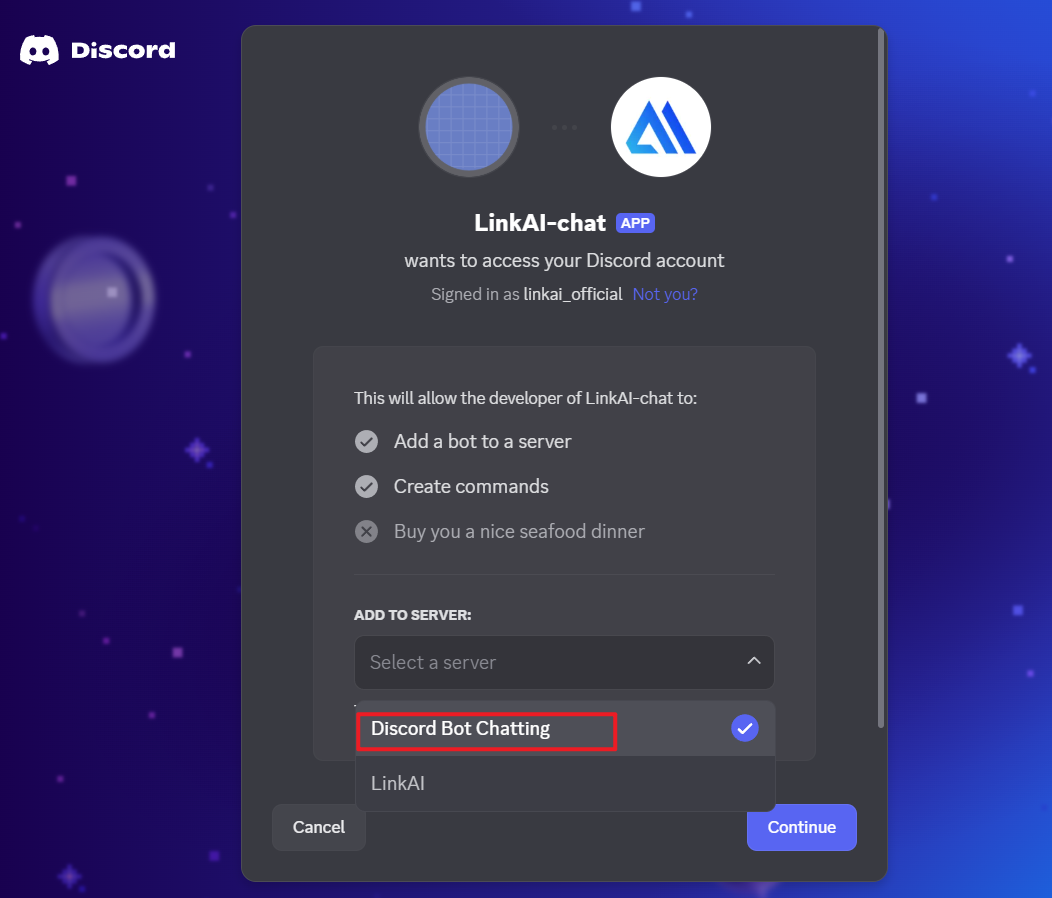
- Select the server where you want to add the bot
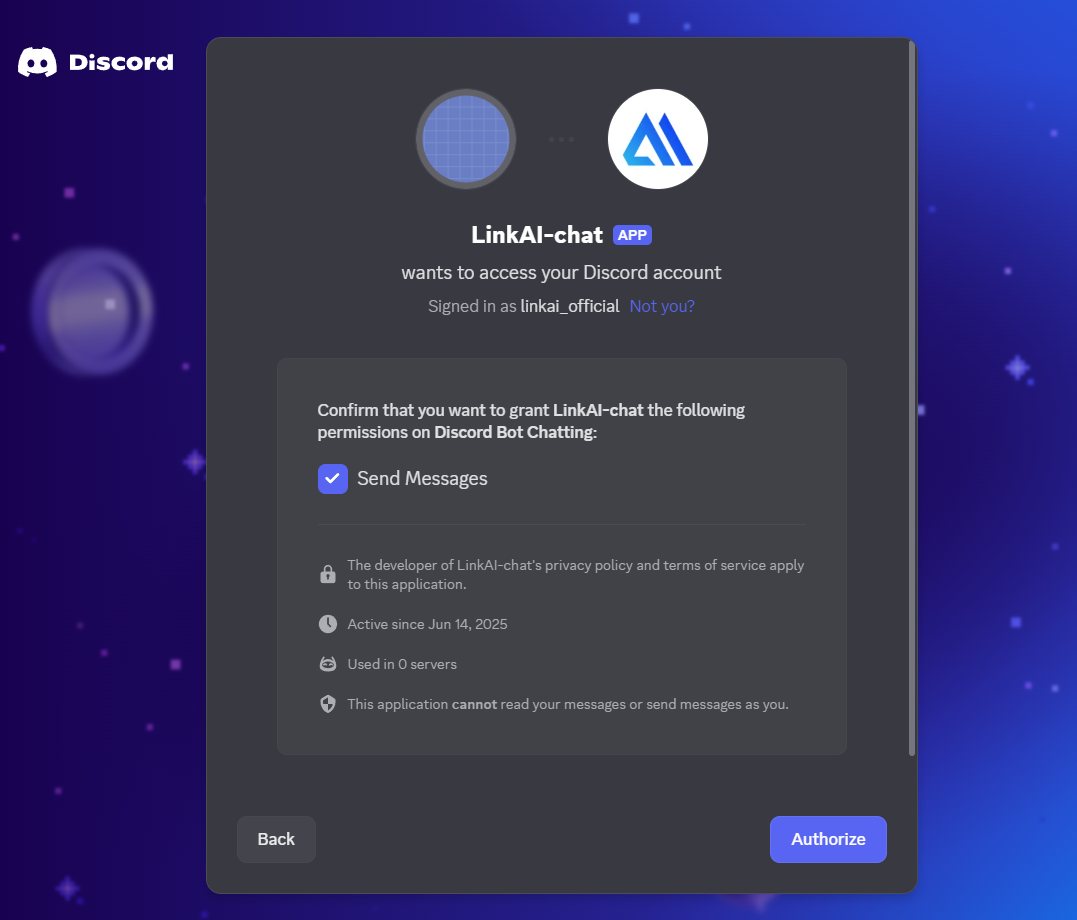
- Click Continue and authorize the permissions
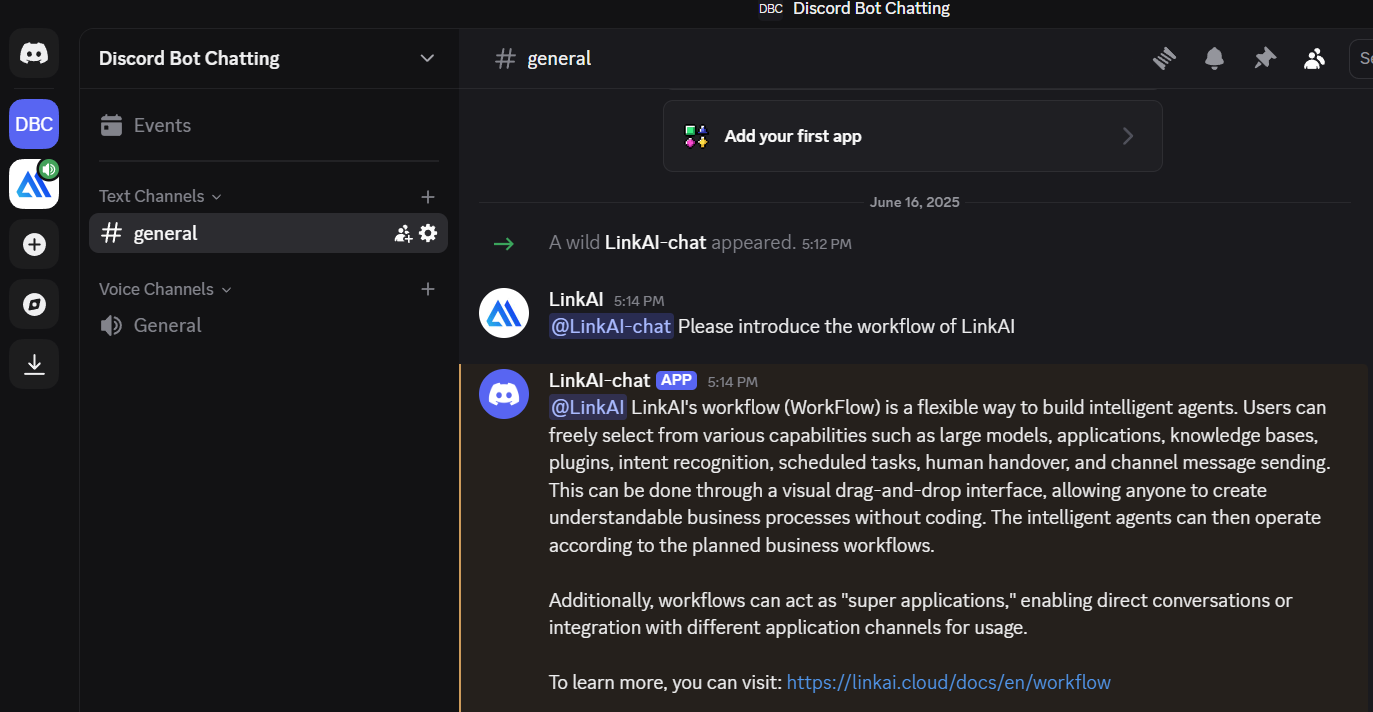
Step 5: Start Chatting
- Open Discord
- Navigate to the server where you added the bot
- @mention your bot to start a conversation!
Tips
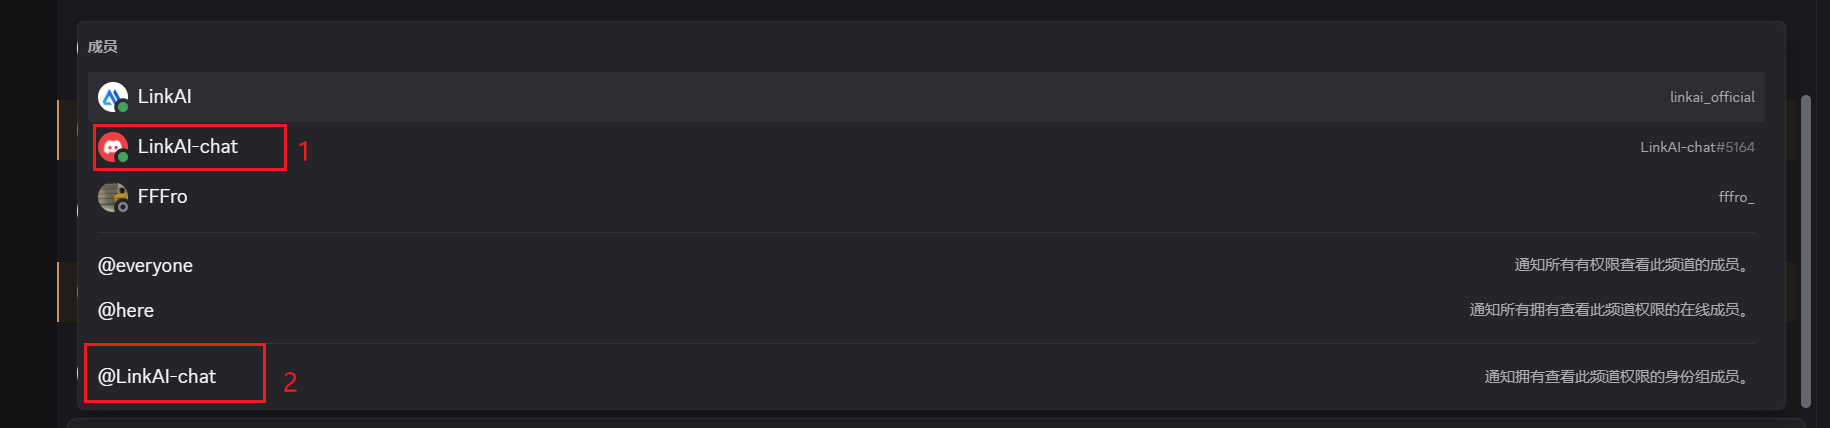
1. Bot not responding to messages
As shown in the image below, please ensure you are mentioning the bot name (as shown in marker 1), not the role name (as shown in marker 2).
Your LinkAI Agent is now ready to engage with your Discord community. Users can interact with the AI by mentioning the bot in any channel where it has permissions.